The big biomass boiler, which I have now named Vlad, or more
accurately his full title: ‘Vlad the wood DESTROYER!’ as that is what he does
best, was installed along with all the 1st fix for the heating system
and has been running heating the bottom floor of the building for nearly a year
now. So what we’re really talking about here is putting the radiators in the
flat.
Which is fairly unexciting in itself and I would of just
wrapped up in the general 2nd fix of the flat, however with most
things in ‘the makers mill’ we’ve done this the hard way, so I thought we would
have a short section for it.

I decided that we just couldn’t have cheap pressed steel radiators
in the flat, I wanted some cast iron. You can buy either brand new or fully
refurbished cast iron radiators ready to install easily from many places,
however we don’t have enough kidneys between us to afford them. So I hit eBay
to see what I could find....
The good news is I managed to find enough old reclaimed cast
iron radiators for the flat and the gallery and only paid about £50 each for
them, the bad news is now I had to find out how and then do the refurbishing of
them ourselves.

First they were all sand blasted to remove the old paint, crud
etc. and flushed though with clean water. Then we needed to remove all the old
bushed and valves and refit for our modern system. We’re only doing the radiators
for the flat at this stage, not the gallery, so we are talking about 6 in total
for now.
Basically in each corner, top and bottom of the radiator there
is a bush, or you could think of it as a threaded bung/stopper. These were all corroded
and or the wrong size for our system, so we had to take them all out and replace
them so each radiator had attachments for flow/input and return/output (at opposite
corners), bleed valve and blanking.
Essentially all this really is is removing 24 (4x6) bolts
and putting new ones back in. In reality this turned into a 24hr period were Graeme
and I waged war on lumps of metal and very nearly lost. In the process we broke
spanners and bent scaffold bars we were using as pivots – it was kind of
hardcore man!


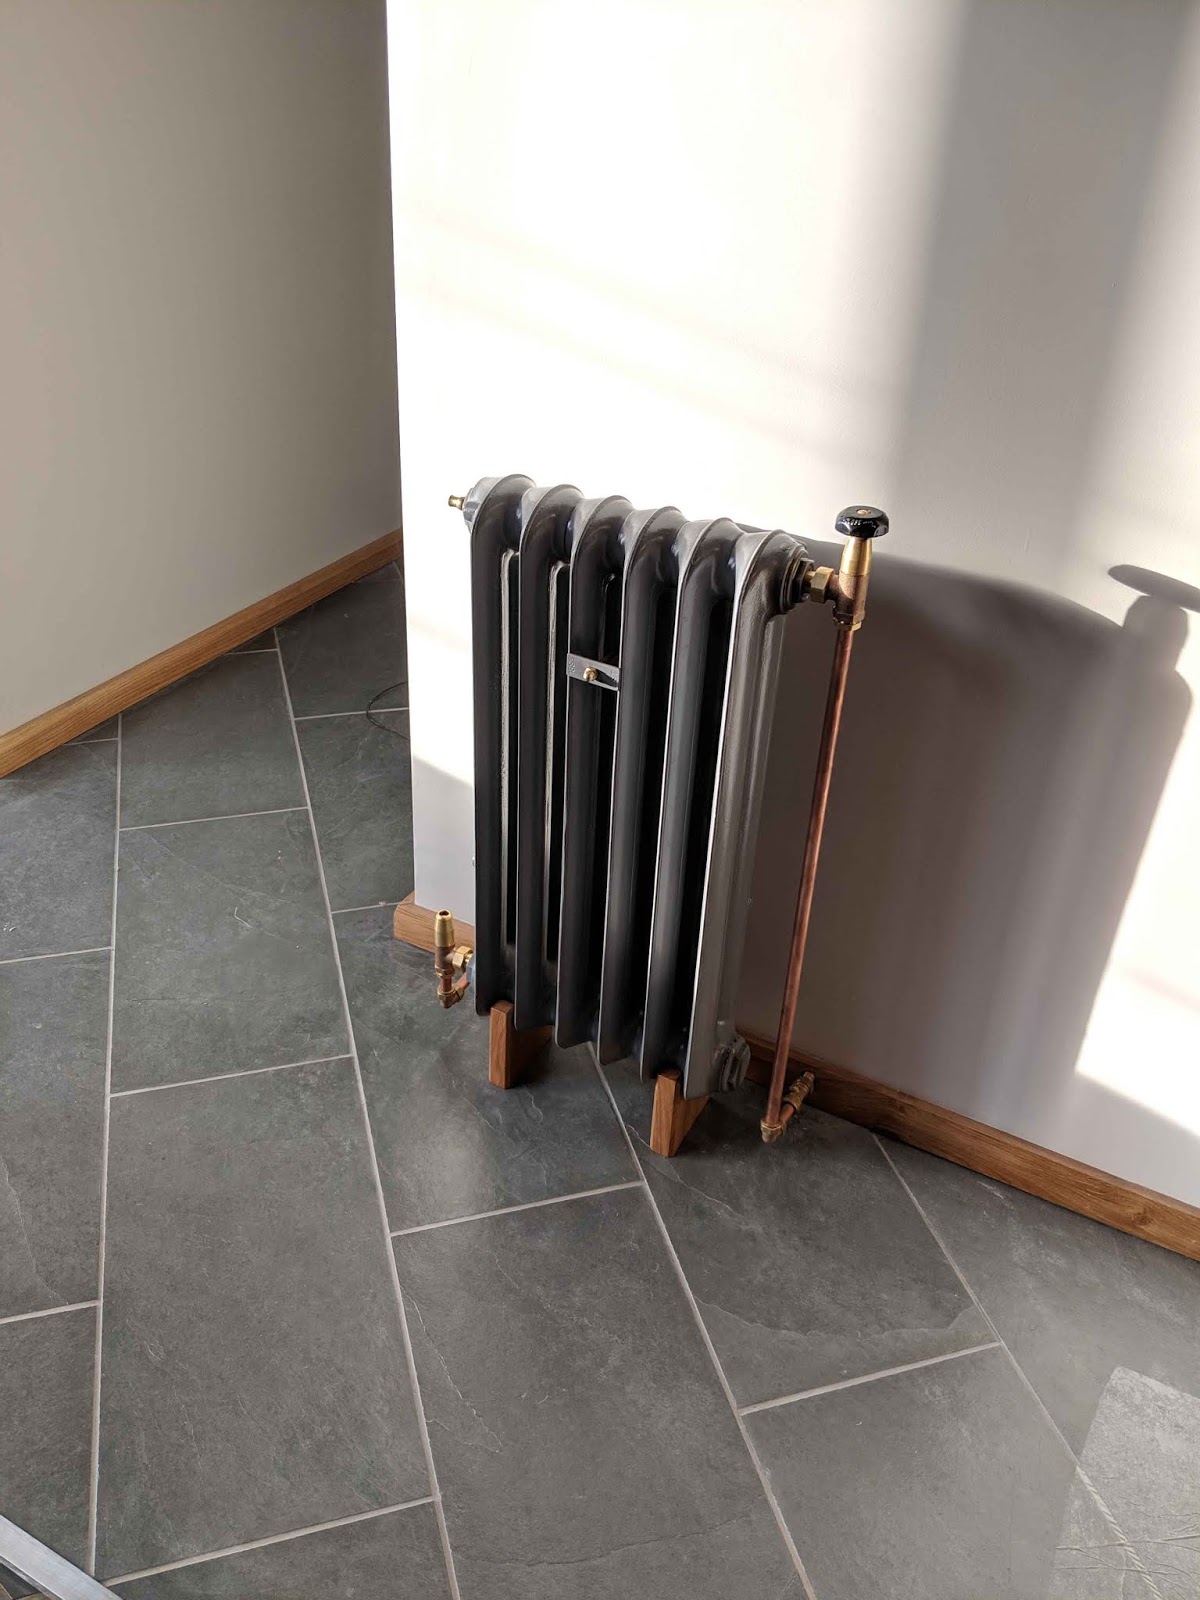
All but one of the rads need separate feet to stand on,
which either weren’t included when I got them or were completely knackered. Partly
as a cost saving exercise, as new feet cost about £40 a pair, and partly as I thought
it would look good, I decided to make they little oak feet for them to stand
on.

All prepped in was time to install them. This meant carrying
them from the workshop, up two flights of stairs to the flat. I cannot stress
this enough, these things are HEAVY. Like shockingly heavy!
Honestly this isn’t me being a wimp here….. how the hell are
these things so damn heavy!?! Ive made a terrible mistake; we’ll never get them
all the way up there! Will the floor even take it????? ARRRRRRRR!!!!!!

So we’ll just skip straight to some pictures of them in
place and plumbed in shall we? Pretend it never happened. There’s no photographic
evidence of it anyway, so what can you do. However I would like to say thank
you to Richard Sharp who helped me in this task – does your back still ache as
much as mine mate?

Above have been living room and main bedroom radiators, the bedroom one having its own feet rather than the oak and being extra deep

There are two of the little ones in the hallways and one more large one (above) between kitchen and living

And finally a long slightly shorter one, that just for good measure, in my infinite wisdom decided we would put on the mezzanine in the 2nd bedroom - apparently I either just love lifting heavy things, or I didn't think it through.
No comments:
Post a Comment