Sunday 28 May 2017

Week 74-75 - 'MOS Bespoke Furniture' :Workshop Move In

I am extremely happy to say that ‘MOS Bespoke Furniture’ has now moved in to our bright, shiny new workshop in ‘The Makers Mill’


Only about a year later than originally planned and hoped, but who’s counting right? (By the way if you are counting – please stop! Your input is neither required nor desired) I have to admit that I am rather in love with it, the ‘wood nerd’ inner me is making no attempt to hide its glee the last few weeks.


The space is split into 3 main areas, pictures above and below are of the main workshop where most of the larger machines live and my main bench and assemble area. This area is on the road side of the building with the big front doors for material deliveries.


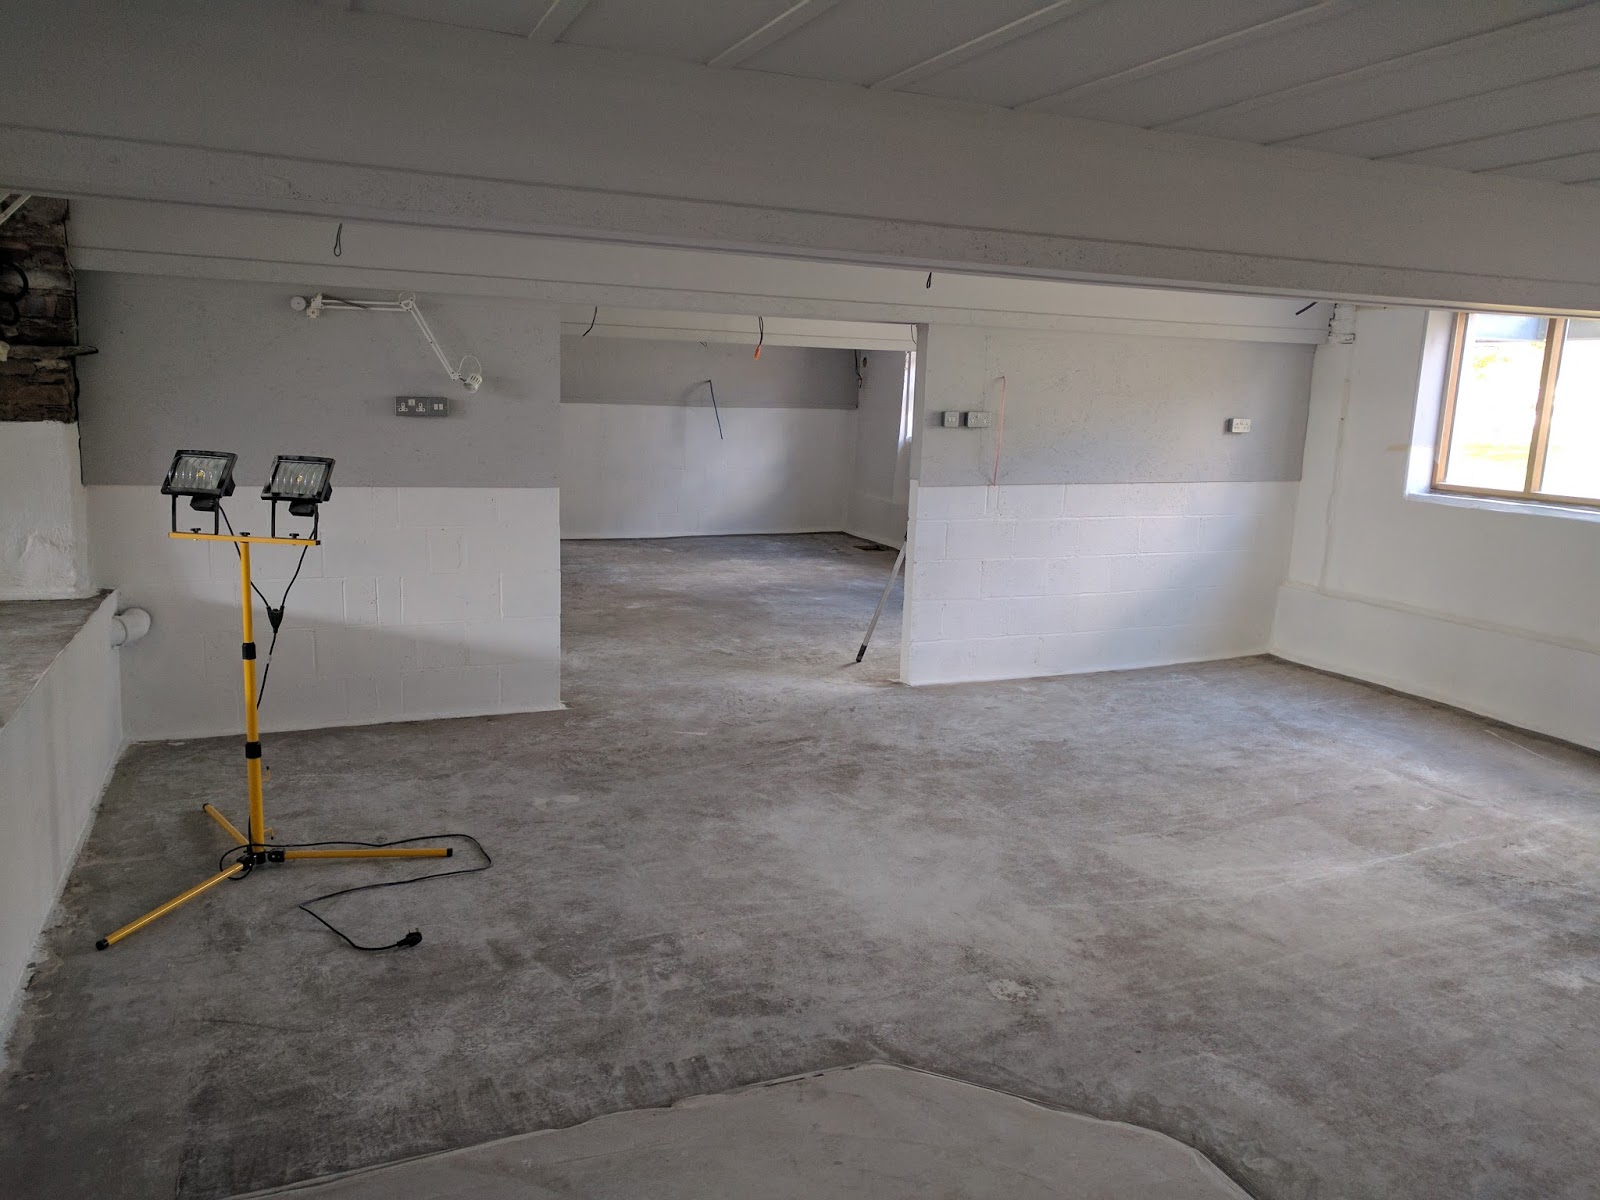
Pictures above and below are of the lower workshop on the river side of the building, housing further machinery and workspace. As you can see still fairly empty, which I’m still finding quite hard to accept – this is the first time I have had a workshop where not every square meter has something in it or purpose to serve. Here I have space to grow into… in other words, I can buy more tools!


Finally we have the ‘finishing shop’ this space of for…. You guessed it, finishing! In other words applying lacquer/oil/wax etc, also final install of upholstery to furniture and our flock work. Put simply it is a space were you can do all the tasks you don’t want to have sawdust involved in.
(as my hair and clothes are normally around a 20% sawdust composition, I may have to ban myself from this room


I have been auditioning workshop dogs for the new space over the last few weeks. This is Millie, she was somewhat overwhelmed when tied to the biggest pile of ‘fletch sticks’ she had ever seen.


And Zack of course (who many of you know) wasn’t interested in anything except having something thrown for him (which in this case was a rubber glove) Although his reaction when he looked out the window and realised it was in fact the park he was looking at was great.


Sunday 14 May 2017

Week 72-73 - 2nd Fix and Decoration of Bottom Floors

I started this stage of finishing off the main downstairs workshop full of excitement that we were painting – mainly because it meant for the first time we were doing a final finish somewhere in the building. We’re nearly two years into this project now, so a sentence that contains the words ‘final’ and ‘finish’ seem very appealing. However over 100 litres of paint later I remember: I HATE PAINTING!!! 

Lets start with some before and after pictures to make me feel better…


It has turned out very well and proven itself to be the space i always thought it could be, I am very pleased with the space and level of natural light etc. Now I can move all my tools and machinery (toys) in and we can really start calling it a workshop

 (above)View with back towards front by-fold doors, new staircase is now enclosed to give a clean, quite entrance to gallery above


View towards Byford doors, now also has a separate bike storage area


View from spray shop area into lower workshop 


View from river up the workshop towards the main doors


Canopy with integrated lighting over were main work bench will be


View of utility cupboard for main workshop ready for fuse box install


Me looking thrilled to be painting the floor – mardy!


Monday 8 May 2017

Week 69-71 - Boarding out and Insulation of Bottom Floors

Now all the wiring and pipework is safely cocooned inside our walls and ceilings (on the bottom floor at least) we can stuff them full of insulation and plasterboard.


First we stuffed the internal walls and ceilings with what was once called ‘rock-wool’, although is now apparently ‘ECO-wool’. Don’t be deceived by the soft and fluffy appearance of this stuff. If you were to find yourself stranded naked in the Arctic with just a roll of this stuff to keep you warm – you would have to make the choice between freezing to death or scratching your skin raw.


It is however very good sound insulation to stop any loud workshop noise transferring upstairs to the rest of the building. To improve this further still we have used ‘Resilient bars’ on the ceiling to the underside of the residential area above. These are basically ‘Z’ shaped profiles of folded steel. Rather than the plasterboard attaching directly to the floor joist, one tail of the ‘Z’ profile attached to the timber joist while the plasterboard screws into the opposite tail of the ‘Z’. Allowing the plasterboard ceiling to vibrate independently from the floor joist, reducing sound transference.


We then boarded the ceilings with fire proof plasterboard (hence why it is pink). Because there is residential space over the top of a commercial area we have to achieve a 1 hour fire rating on the ceiling. Now to do this you have to put up 2 layers of ½ hours rated fire board… -what’s that I hear you ask: why don’t they just make a thicker 1 hour board?

It’s a fine question, and one I am yet to of received a satisfactory answer to. So if you are reading this and do in fact know of a good reason, please let me know, because at the moment it’s just double the time/effort/cost for (visually at least) the same result. If not: don’t steal me idea – im going on ‘dragons den’!


The joints in the boards are them taped and filled. This method is not as good as having the full ceiling skimmed in plaster but that would have been a cost I can’t justify for a workshop ceiling.


The walls are then boarded too. I have done this in OSB instead of plasterboard as it is much stronger and will take much more wear and tear in a workshop than plasterboard.


The external walls are filled with 100mm of solid foam (kingspan style) insulation and then counter battened to the outside wall studs and a further 50mm put in. As reference, this is a lot of external insulation, so should keep use very nice and toasty.


I then built the internal wall dividing the customer staircase up to the gallery off from the workshop


Stairs wall boarded out with door and 3 viewing windows reveals ready for later


The bike shed has also been boarded out and separated from the rest of the workshop. I have put a 2.4 meter internal ceiling on it to create some extra storage on top.

We have also pinned thin fire rated strips of timber onto the ceiling to cover up any screw holes and raw edges of plaster before painting