Although started last week with the smaller front asbestos roof this week we took off the mains roofs proper ready for the new steels to arrive next week.
There was a lot of swinging of hammers and crow bars and general aggression applied - we are now totally ruthless tradesman, who are now without roof!
Outer skins of steel sheeting and the old felt and chipboard roof removed (still mainly on the floor)
Had the extended Wilson family workers on site this week, Sophie's cousin helping me up top ripping the roof apart and my ever reliable and hard working head laborer Graeme (sophs dad - supposed to be retired - sorry!), as well as help from some very kind friends how came by to help with the mammoth skip loading tasks at the end of each day.
All the old timber frame/structure now also removed...
We had some amazing weather and sun that made the job a lot easier, i even got sunburned (in the lakes in September - who knew) All in all a very hard working but very successful week.
View from the park looking back at the river wall - which currently looks from here at least to be the only structure left of the building, no wonder everyone is pointing and staring as they walk past!
Wednesday, 23 September 2015
Sunday, 13 September 2015
Week 10 - Roofs start coming off
Its been a busy week on site this week, starting with the asbestos guys coming in on Monday and Tuesday to take the last of the asbestos out of the building. It may be nasty and expensive stuff to get rid of - but it was keeping us dry... and now its not.
So as you can see we now have no roof over the (to be) flat/living area and the rear section to the river. On a positive not we are due for some great weather for the rest of the week so we can crack on with rebuilding walls and gable ends etc that were otherwise impossible because they were supporting the old roof - its also very nice and bright light to work in without roofs, who would have guessed.
First of which was rebuilding the new gable end of the building facing the road. It has been clear for a few weeks now that this old structure was quite pathetically weak and crumbing, which meant it took Ben Lane and I no time at all to have it all demolished and waste stacked up on Tuesday evening. Exactly how weak and easily destroyed is shown in the video above...
For the rest of the week i roped in Mark Stuart and Jamie Cooper to help me lug around the long timbers rebuilding the new gable end. Went up quite nicely, it is good to be able to see the new larger south facing window views.
We also removed the outer sheet steel skin of the rear roof while the weather was good and used it to try and protect the floorboards under the now roofless area from some of the elements - it will eather work or give us a nice 1st floor water feature: i know which my money is on!
Road side roof and gable end cleared and ready for rebuilding
Mark looking proud of his work. We rebuilt with a slightly taller apex and 15 degree pitch
View looking backwards across the now missing and skinless roofs into the park
Our very private and/or communal toilet!
Sophie and I came to a very wet and rainy site on Saturday to mix and pour some concrete over the now finished soil pipe trenches. Sophie decided using a cement mixer was a lot like using a cake mixer, just less appetizing.
A very rainy morning, with no roof and pouring concrete may not be the perfect way to spend your Saturday, but if we hadn't, we would of met this little guy!
So as you can see we now have no roof over the (to be) flat/living area and the rear section to the river. On a positive not we are due for some great weather for the rest of the week so we can crack on with rebuilding walls and gable ends etc that were otherwise impossible because they were supporting the old roof - its also very nice and bright light to work in without roofs, who would have guessed.
For the rest of the week i roped in Mark Stuart and Jamie Cooper to help me lug around the long timbers rebuilding the new gable end. Went up quite nicely, it is good to be able to see the new larger south facing window views.
We also removed the outer sheet steel skin of the rear roof while the weather was good and used it to try and protect the floorboards under the now roofless area from some of the elements - it will eather work or give us a nice 1st floor water feature: i know which my money is on!
Road side roof and gable end cleared and ready for rebuilding
Mark looking proud of his work. We rebuilt with a slightly taller apex and 15 degree pitch
View looking backwards across the now missing and skinless roofs into the park
Our very private and/or communal toilet!
Sophie and I came to a very wet and rainy site on Saturday to mix and pour some concrete over the now finished soil pipe trenches. Sophie decided using a cement mixer was a lot like using a cake mixer, just less appetizing.
A very rainy morning, with no roof and pouring concrete may not be the perfect way to spend your Saturday, but if we hadn't, we would of met this little guy!
Monday, 7 September 2015
Week 8-9 - Rebuilding road side external walls / Finishing soil pipes
Nothing major happening on site this week, have just been finishing working on the two new road side external walls. The stud work was built a few weeks ago, so we have now wrapped them in a waterproof breather membrane and put there first external skin on. They are then battened vertically to create a 50mm air gap then a second skin attached (not done yet, will wait till after new roof) We can then do a render or batten again horizontally and clad in timber - so many layers!
New walls clad and battened
After their 3 visits to have the most fleeting of glances each time, building control are now happy with our layout and connect up of soil pipes. So we're no longer weeing in buckets but back on the throne (still need a bucket of water to flush though - baby steps) The mark II layout did require some more jack hammering, in fact another half days, But it is done now and materials on site for concreting it all back over - all i need now is a concrete mixer!
New walls clad and battened
After their 3 visits to have the most fleeting of glances each time, building control are now happy with our layout and connect up of soil pipes. So we're no longer weeing in buckets but back on the throne (still need a bucket of water to flush though - baby steps) The mark II layout did require some more jack hammering, in fact another half days, But it is done now and materials on site for concreting it all back over - all i need now is a concrete mixer!
Thursday, 27 August 2015
Week 6-7 - Day job calls
Very little work on site this weeks im sorry to say, had to put some long hours in at the work bench catching up on some tight deadline commissions in the workshop.
We do now have all our drawings for the new steel work required for the replacement roofs, so hopefully we can get the ball rolling fast on that. I am obviously very keen to get the old roof off and new on and water tight again while we enjoy our reliable Cumbria summer - its surely due any day now... i think we're having it on a Tuesday this year.
Week 5 - Soil pipe
This week we have started installing the new soil pipes for the building. For those not in the know, dont think of soil in the garden, think more along the lines of soiled pants - that's right guys we're talking poo! Of which i thankfully managed to completely avoid touching or getting on me in any way (Ben however did not... my bad)
I was working with the skilled and talented Mr Ben Lane of 'Puddle Lane Plumbing', so at least one of us knew what we were doing.
There is currently a soil pipe connected to mains drainage right in the front corner of the building serving a singe toilet and sink. The new layout however has multiple water and drainage points throughout so we needed to channel new piping into the concrete floor slab to where they are needed.
Cutting into concrete to a depth of up to half a meter required the use of some VERY manly power tools indeed. My inner 8 year old self was virtually wetting his spider-man pants with excitement.
The tools did not disappoint... well not for the first 10 mins or so anyway. A jack hammer is essentially a hardcore Pogo-Stick designed less for bounce and fun but more noise and destruction. By the time Id spent 3 days on it my body felt rather pulverized.
As you can see in the photos below the battle between man and concrete was won and the pipes are in place. We are now waiting for building control to sign it off before we concrete them over.
1st job was to cut through the slab to revel where the mains drainage connects. The old soil pipe in the building just did a 90 degree bend from here and went straight up the wall. We have more grand plans...
Starting to cut into the ground floor slab to run the new pipes underneath, as you can see it make a LOT of concrete dust, so much so in fact passers buy were worried the building was on fire!
The urge to wave a revving petrol powered saw above your head like a crazed mad-man was very strong and we both succumbed - we limited ourselves to only once each though (Ok fine, twice!)
Making progress
The finished laid pipes for downstairs first fix plumbing, complete with inspection camber - in case you forget what it looks like
I was working with the skilled and talented Mr Ben Lane of 'Puddle Lane Plumbing', so at least one of us knew what we were doing.
There is currently a soil pipe connected to mains drainage right in the front corner of the building serving a singe toilet and sink. The new layout however has multiple water and drainage points throughout so we needed to channel new piping into the concrete floor slab to where they are needed.
Cutting into concrete to a depth of up to half a meter required the use of some VERY manly power tools indeed. My inner 8 year old self was virtually wetting his spider-man pants with excitement.
The tools did not disappoint... well not for the first 10 mins or so anyway. A jack hammer is essentially a hardcore Pogo-Stick designed less for bounce and fun but more noise and destruction. By the time Id spent 3 days on it my body felt rather pulverized.
As you can see in the photos below the battle between man and concrete was won and the pipes are in place. We are now waiting for building control to sign it off before we concrete them over.
1st job was to cut through the slab to revel where the mains drainage connects. The old soil pipe in the building just did a 90 degree bend from here and went straight up the wall. We have more grand plans...
Starting to cut into the ground floor slab to run the new pipes underneath, as you can see it make a LOT of concrete dust, so much so in fact passers buy were worried the building was on fire!
The urge to wave a revving petrol powered saw above your head like a crazed mad-man was very strong and we both succumbed - we limited ourselves to only once each though (Ok fine, twice!)
Making progress
The finished laid pipes for downstairs first fix plumbing, complete with inspection camber - in case you forget what it looks like
Week 4 - Rebuilding road side external walls
The asbestos guys had their second visit to site on Monday this week, to remove all the asbestos external wall cladding from the road frontage. To do this, and to rebuild the walls afterwards we need scaffolding - or as i like to think of it: my new 30 foot climbing frame. It even has some monkey bars (sort off).
There was two off them and they were in and out, taking all the asbestos with them by lunchtime. Which was nice, although it does make the cost of it seem all the more eye watering.
So as you can see we now have no external walls on the road side - so better get building then really!
The frame stud work you can see went up very quickly and it has been very nice to be putting materials back into the building rather than just throwing stuff out. looks good and sturdy too, just the two walls you can see in the photo below swallowed up over 300 meters of timber.
New stud work going in (above) lower workshop wall, no windows in this section. (Below) wall to road side at gallery level, there will be double glass doors (Juliet balcony) on the right and large multi pain window on the right.
There was two off them and they were in and out, taking all the asbestos with them by lunchtime. Which was nice, although it does make the cost of it seem all the more eye watering.
So as you can see we now have no external walls on the road side - so better get building then really!
The frame stud work you can see went up very quickly and it has been very nice to be putting materials back into the building rather than just throwing stuff out. looks good and sturdy too, just the two walls you can see in the photo below swallowed up over 300 meters of timber.
New stud work going in (above) lower workshop wall, no windows in this section. (Below) wall to road side at gallery level, there will be double glass doors (Juliet balcony) on the right and large multi pain window on the right.
Week 1 to 3 - Gutting out of building
It doesnt take much more than a fleeting glance for anyone to reach the conclusion that this place is a wreck, and i say that with the least offence possible, because after all, I'm the mug that bought it!
So we need to get the place completely cleared out and stripped down to see the core structure and actually know where stage one of the build will land - therefore i am referring to this stage as stage zero (which is a little depressing as it took 3 weeks and an eye watering cost in skips)
Four 16 qubic yrd skips were needed in total to get it to the stage you see below and the roof is yet to be touched.
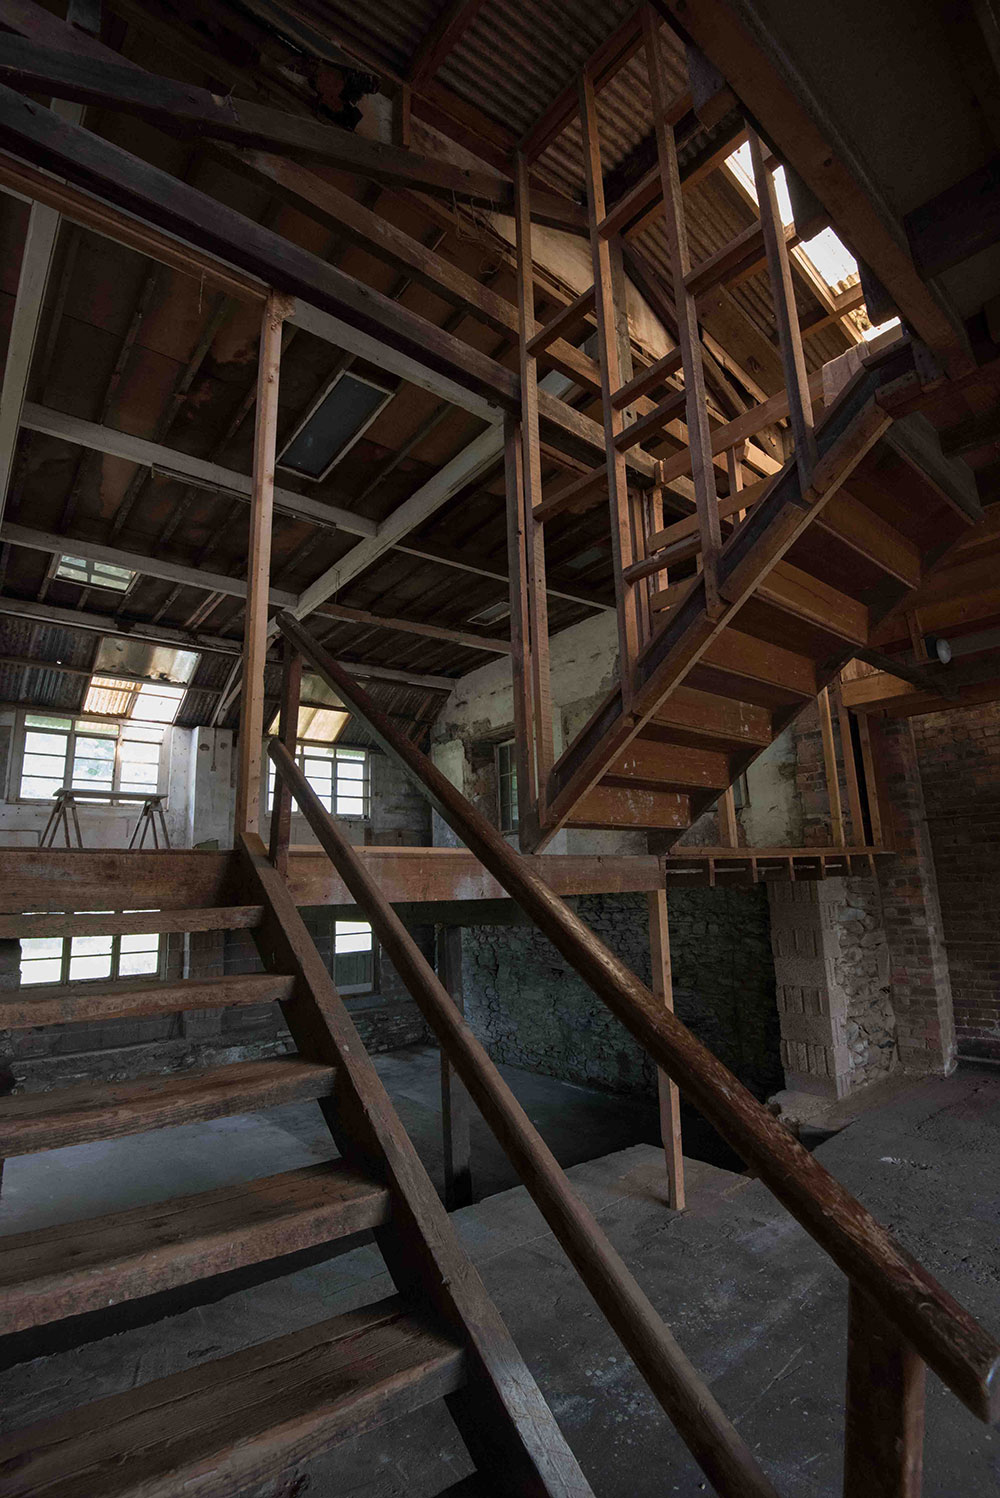
Probably the best part of which (from a spectators point of view at least) was ripping down the ceiling of the ground floor. Pulling down a plasterboard ceiling is not a bad job, but when 50 years worth of sawdust from the floor above comes along for the ride it becomes less enjoyable. The 12 inch (30cm) deep joist gap between the downstairs ceiling and upper floor was completely (and i do mean completely) filled with years of sawdust. This accounted for over 100 square meters of 30cm deep sawdust to shower down on your head each time you pulled down a section of plasterboard. It not only filled nearly half a skip on its own, but also filled every other orifice in my body (and then the shower drain when i got home), good times had by all.
What will eventually be the main entrance to the building
Ground floor workshop space
Top floor, standing in what will one day be a kitchen
So we need to get the place completely cleared out and stripped down to see the core structure and actually know where stage one of the build will land - therefore i am referring to this stage as stage zero (which is a little depressing as it took 3 weeks and an eye watering cost in skips)
Four 16 qubic yrd skips were needed in total to get it to the stage you see below and the roof is yet to be touched.
Probably the best part of which (from a spectators point of view at least) was ripping down the ceiling of the ground floor. Pulling down a plasterboard ceiling is not a bad job, but when 50 years worth of sawdust from the floor above comes along for the ride it becomes less enjoyable. The 12 inch (30cm) deep joist gap between the downstairs ceiling and upper floor was completely (and i do mean completely) filled with years of sawdust. This accounted for over 100 square meters of 30cm deep sawdust to shower down on your head each time you pulled down a section of plasterboard. It not only filled nearly half a skip on its own, but also filled every other orifice in my body (and then the shower drain when i got home), good times had by all.
What will eventually be the main entrance to the building
Ground floor workshop space
Top floor, standing in what will one day be a kitchen
2nd floor gallery/exhibition space
Subscribe to:
Posts (Atom)