Sunday, 8 April 2018

Week 86-88 - Internal Walls and Studwork

Its finally time to build the internal walls in the rest of the building and physically see the spaces we will have instead of just in the world of drawings and imagination…
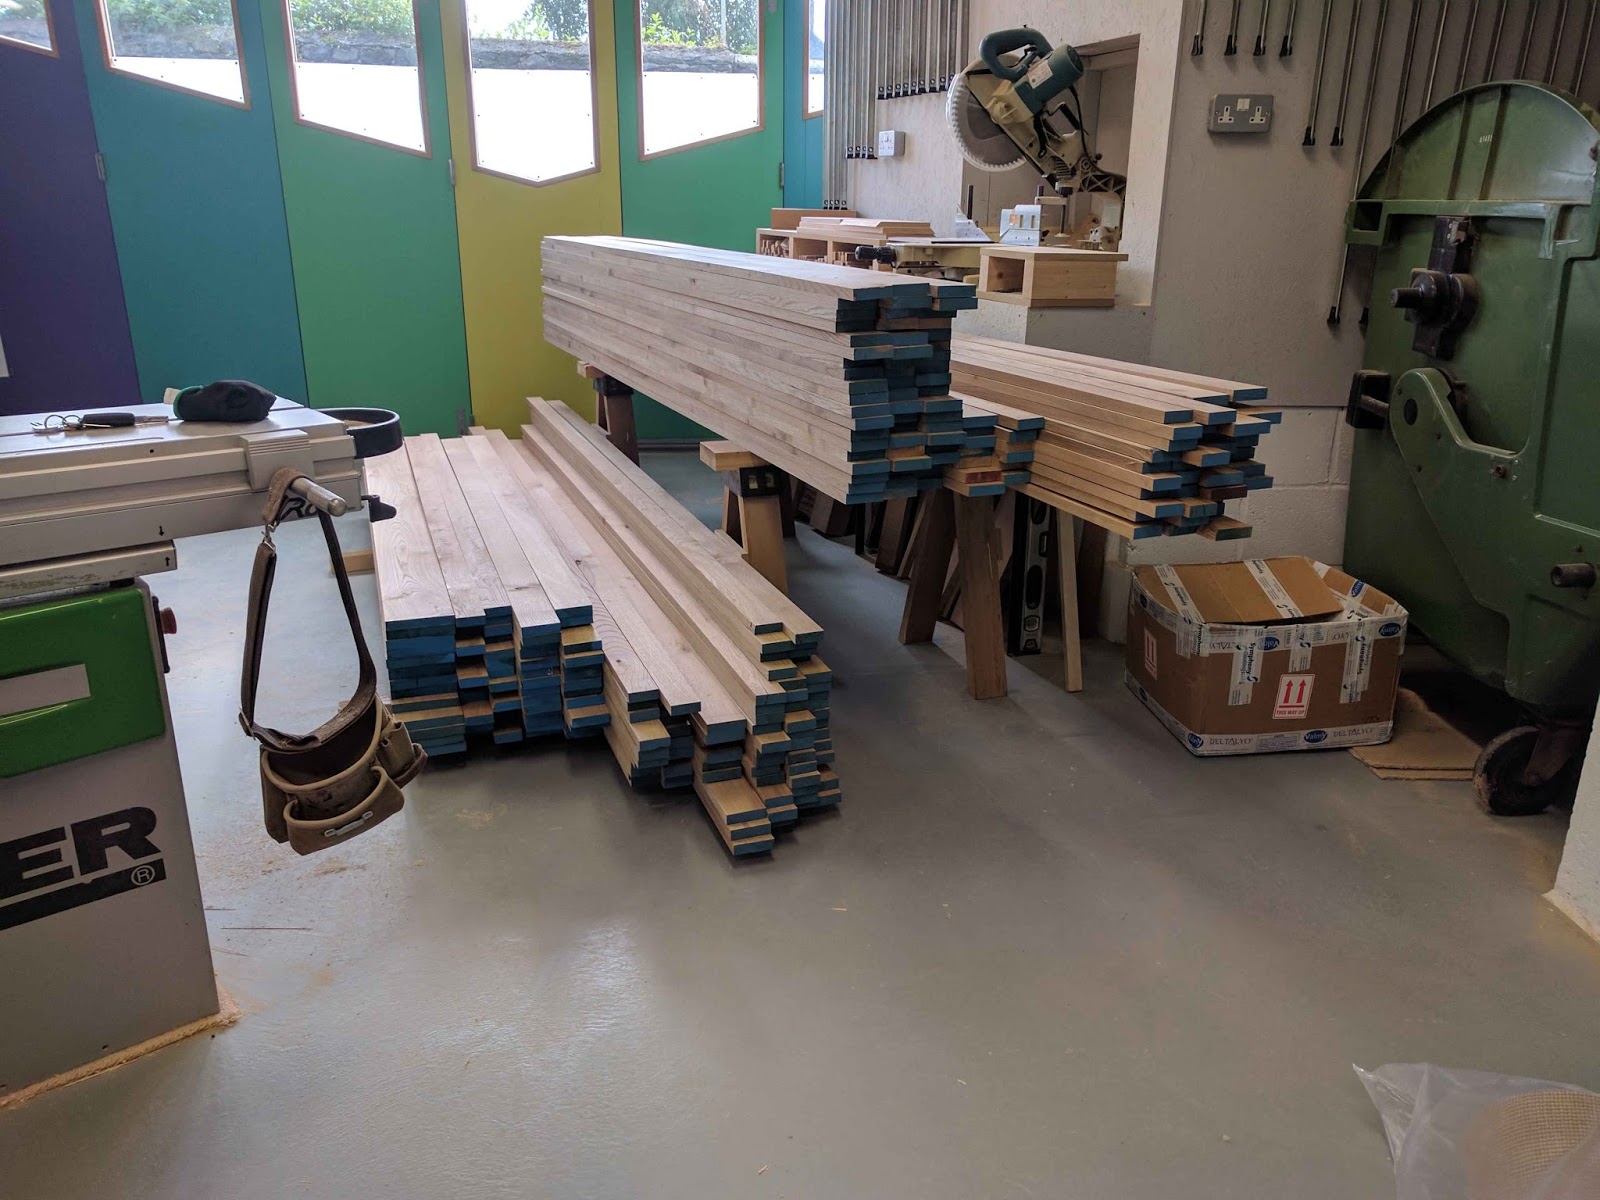
Straight away the building is back to its favourite trick of munching its way through meter after meter of timber like the stuff grows on trees….                 
wait…..
so whys its so damn expensive!
There aren’t actually that many internal walls other than in the residential part of the building, most of the 1k+ meters I’ve used over the past few weeks has been on counter battening and framework to hold plasterboard and box in steels (which I think probably, makes it worse – never mind!)


Up on the top floor (residential) we do at least have walls to get excited about. I am very relieved and pleased that the dividing up of the space into separate rooms has worked out very well. The space seems to of subconsciously grown rather than shrink as ive divided it up. 


The spaces seem well proportioned and everything should fit where I imagined it would (who knew scale drawings worked so well!) 


Rather hard to tell from just the stud-work but up here we now have hallway (main entrance), two bedrooms and an open plan living/kitchen area


We have gone for pocket doors into the bedrooms and living space – this is where the door slides into the thickness of the wall (pocket within the wall) rather than on hinges into the room. This requires the making of the pocket and fitting of the sliding track while making the walls, so I have done this at this stage


I decided it would be nice to box the ‘a-frame’ steel in at some nice angles to give it some interest up here. Lets all pretend this looks at least 4 times better than just square would have done – as it took 4 times as long to do!


The two side walls of the gallery are original (approx. 200 year old) stone walls. They have always had a thick lime render on them and are as far from straight and level as a politician from integrity, plus they need insulating, so most of it will be re-boarded. However we thought it would be nice to have at least some of it on show to go with the centre spine wall of the building.


To be honest this turned into a nightmare quickly – as soon as I stripped the render it was obvious this was a wall that was never intended to be an aesthetically pleasing/feature wall. But I had started now, and I couldn’t let the rest of the walls see this one be me! They might gang up and unionise and then where would I be!?
3 days of cleaning, rebuilding and repointing later I’m quite pleased with the results

Tuesday, 6 March 2018

Week 85 - Roof Window

 As you may have seen in the earlier blog entry we have already put in a few Velux roof windows, with the original plan to do this last one at the same time. Unfortunately we ran out of time and cash at the time to do it. However as we are due to move on to internal dry fit out work within the building soon, so it’s become a now or never situation to start cutting new holes in the roof


This isn’t a Velux window but a custom made, none opening large (2m x 1.6m) skylight right in the middle of the main living space in the residential apartment.


It turned out to be a fair amount of work to figure out, make and install but I am extremely happy with it. The amount of light it lets into the building on even an overcast day is really quite surprising – to the point where the temporary strip lights we have up in there have no effect on the light level at all when the sun is out.


I made the frame out of the same European Oak as the rest of the windows and the same hardware as on the roof windows facing the park for the glass (capex)


Gluing up the frame in the workshop


Aperture cut ready for the frame install


Me ‘tweaking’ the roof joists a little so the frame fits better – my tape measure was obviously having a bad day when I originally measured up! Whats 5mm between friends ay….


We also webbed out the balcony steels with timbers this week, as you can see with the ropes in the picture below, it required rigging up some pulleys etc. to help get them into place (the river was in the way again!) and this is far easier with the building the way it currently is – plenty of exposed timberwork to wrap ropes around.


Ill level with you….

The first one of these timbers we tried to put in fell straight in the river!

And when I say ‘fell’ what I really mean is we dropped it….

And when I say ‘we’ I really just mean me!

This resulted in what I am now claiming as the first game of ‘Extreme Pooh Sticks’ ever played – where instead of dropping you twigs off one side of a bridge and seeing which comes out the other first, you just chase a very large 4meter long plank down the river for a half mile or so!! Much to everyone in the parks amusement.

I haven’t quite figured out all the rules as yet, but I think the victory of the first game has to go to Graeme as he took the rather bold move of going into the river up to his knees, on a very cold winter’s day to grab it. I mean credit where credits due – I was willing to just let the thing float off into the sunset and get a repayment from the timber yard.

Sunday, 18 February 2018

Week 84 - Spray Foam Roof Insulation

Spurred on by the recent, rather cold winter weather, where working inside the mill has been cold enough for cows to make ice cream, we have now insulted the roof.


I decided to go with a spray foam insulation product that gets sprayed directly onto the inside face of the roof skin. This means there is no air gap where condensation can form. This is basically the same stuff as the rigid ['kindspan'] foam boards you get with the foil on the outside, also similar to the expanding foam you can buy in cans.


So foam fans! Who knew that it would actually be made by mixing two liquid chemical compounds together? I didnt. The product gets deliver in big oil drums, which seemed a little strange. These four drums are enough to do the whole building


I paid a company to do this for us as you need some fairly specialised equipment to do it. It took them 3 days in total to cover the entire roof in 15cm of foam.


As a point of reference this gives us the equivalent 'u' value as using nearly 2 meters of traditional rock wool insulation. Which is great! Still can’t say it’s the most 'rock n roll' way I’ve spent thousands of pounds.


The first thing you have to do before starting the spray is to cover up any surface you do not want the foam, or at the very least, over-spray from the foam to get on, To be honest this takes almost as long as the spraying the foam itself. It also turns your building into a very dark and kind of creepy plastic 
tent.


All the structural steel beams that support the roof, nuts and bolts included, also get a thinner layer of foam applied to stop any condensation forming on them and thermal bridging from the outside.


Sunday, 11 February 2018

Week 81-83 - Fit out of 2nd Downstairs Workshop

Up until now my furniture workshop has been the only finished space in the building. Now inert, incapable of emotion, brick and timber structure or not: I don’t want it to feel lonely now do I? So I thought I would fit out and make ready the second bottom floor workshop for some company


This space is about a 30 square meter workshop/studio, with its own private access door and use of the rest of the building amenities [although I admit, I haven’t actually finished building those amenities yet]


As you can see the lights, electrical sockets and a few other bits and pieces need to be finished off, but the space has come together well and is a lovely bright work space. It also has a sink, ventilation/extraction, 3 phase electric and access for a flue/chimney if needed


All in all this has turned out to be a space with great potential. So if you are a Cumbrian artist/craftsman {person} that is looking for a new space to get creative in - we've got you covered


Picture from before final fit out started: External walls are tanked and studwork built ready for first fix


Electrical wiring, Plumbing and insulation gone in ready for plaster boarding


Saturday, 27 January 2018

Week 76-80 - Cladding and Finishing Outside of Building

It’s been quite a while since my last blog entry, mainly because since I moved my workshop in last summer I have been rather busy being a furniture maker again and not a builder. I admit it has been very nice using my new workshop and seeing the bank balance going up rather than down for a change, but this place isn’t going to build itself, so we need to crack on....


And crack on we have: The external cladding and finishing touches to the front of the building are now complete, so I think it’s time we had ourselves a before and after photo. I admit this is rather self-indulgent of me, but it definitely helps with the motivation, and when you’ve been renovating a building for more than two and a half years and are still only about half way though, motivation is the name of the game! [Plus no one is forcing you to read this!]


 As you can see the cladding is now done and I am rather pleased with how it has turned out. Which is a good job to be honest, as I went full ‘designer wood nerd’ on this one. Not only did I refuse to put anything other than solid European Oak up, I then also compounded the situation by coming up with a design that used about 30% extra timber than it 'needed' too. All in all this meant the cladding cost easily twice as much and took probably three times as long to achieve than an off the shelve product would have done.
Still though, I think it’s worth it and all the friend and relatives that have seen it seem to agree. [at least to my face] Most importantly Sophie agrees, so we're all good.


The drive way has been freshly tarmacked, which is satisfyingly smooth and I have made a railing for the Juliet balcony into the gallery. I couldn’t resist the opportunity to get a bit of art-deco sunray in there.


The main workshop doors have had some frosting applied to stop everyone staring at me while I work at my bench so much [I felt a bit like a gold fish!] and I’ve made some rather cool little 'MOS Furniture' swing signs for either side. I have to admit I am a little overly proud of these - I’ve never had my logo up outside my previous workshops.
The main 'The Makers Mill' signage for the overall building will go flat on the cladding between the windows


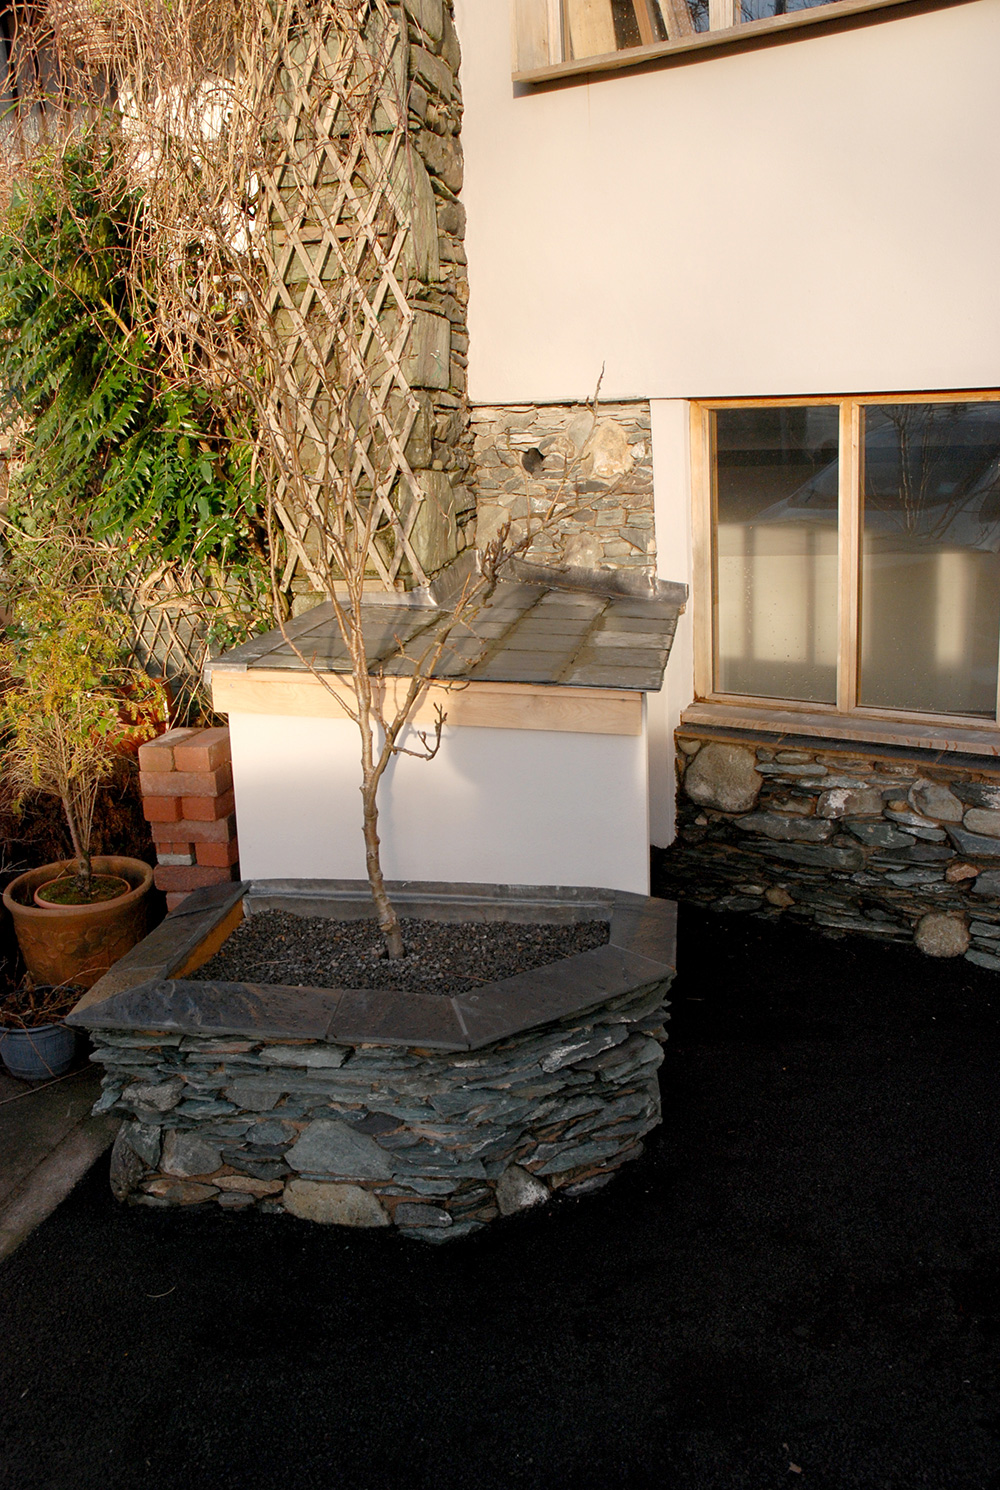
Have also added a raised bed out of the last of the recycled slate from the building for a rather special little pear tree [his name is Perry] I planted this tree 3 years ago for my late grandad. It had outgrown its initial pot, so I thought he deserved a nice permanent one here.


The main 'public' entrance to the building has been paved in slate and I even had enough left over oak from the cladding to make a letter box


The underside of the staircase up to the flat has been clad and painted the rather bright lime from the middle door of the by-fold doors. Mainly because i think it’s cool - but also, I didn’t want to waste the left over paint!


This rather large pill of timber is all the oak planed up ready to be made into the cladding. While not an insignificant pile, still rather disappointingly small for its cost

Getting ready to start cladding the front of the building above the main doors. First job was to fit the window hoods


Cladding starting to go on. You can see that I clapped a straight edge across the bottom to line it up with, to make sure it ended with a nice straight line across the front of the doors


Full width of cladding nearly complete


Graeme out on the roof (though the Velux window) rigging up a safely line so I didn’t fall to my death while attaching the top rows of cladding. FYI - I didn’t


Windows, hoods and batons fitted to the residential staircase ready to start cladding


Cladding of the staircase about half done - nice collection of ladders I have aye? You can also see how indecisive I was being about what colour to paint to outside of the building. Although from comments made - there were one or two of the neighbours that thought I planned to go for a pure patchwork effect


Front door frame and door to the flat fitted and battened ready to be hidden in the cladding.


Sophie using our front doors for the first time: This was pretty exciting. In hindsight maybe I should have carried her over the threshold of this door! Or maybe this isn’t something we do in the gender neutral 21st century? Answers on a postcard please, as I do want to be down with the 21st century kids


Prepping the slates for steps up to the door


Gluing up the railing for the 2nd floor doors: Quite a complicated glue up actually, but there’s no one to blame apart from the idiot that didn’t just make a square jointed railing


Fitting the railing


I also fitted the flood gates in this period of work on the outside of the building. These are the last part of the flood defence’s for the building. This is a fairly straight forward job in theory, but it does require you to get the side and bottom channels accurate and level to within a millimetre or so at the worst. These sort of tolerances are not generally a problem, but achieving them in concrete is a lot harder than in wood, so it did require some patience.


(Above) Cutting the rebates and bore holes for the joining stanchions in front of the by fold doors


Fitted flood gates on all the external doors. My mother’s comment to this picture: "Looks like a chest of drawers"  - It makes me wonder what state her clothes are kept in!